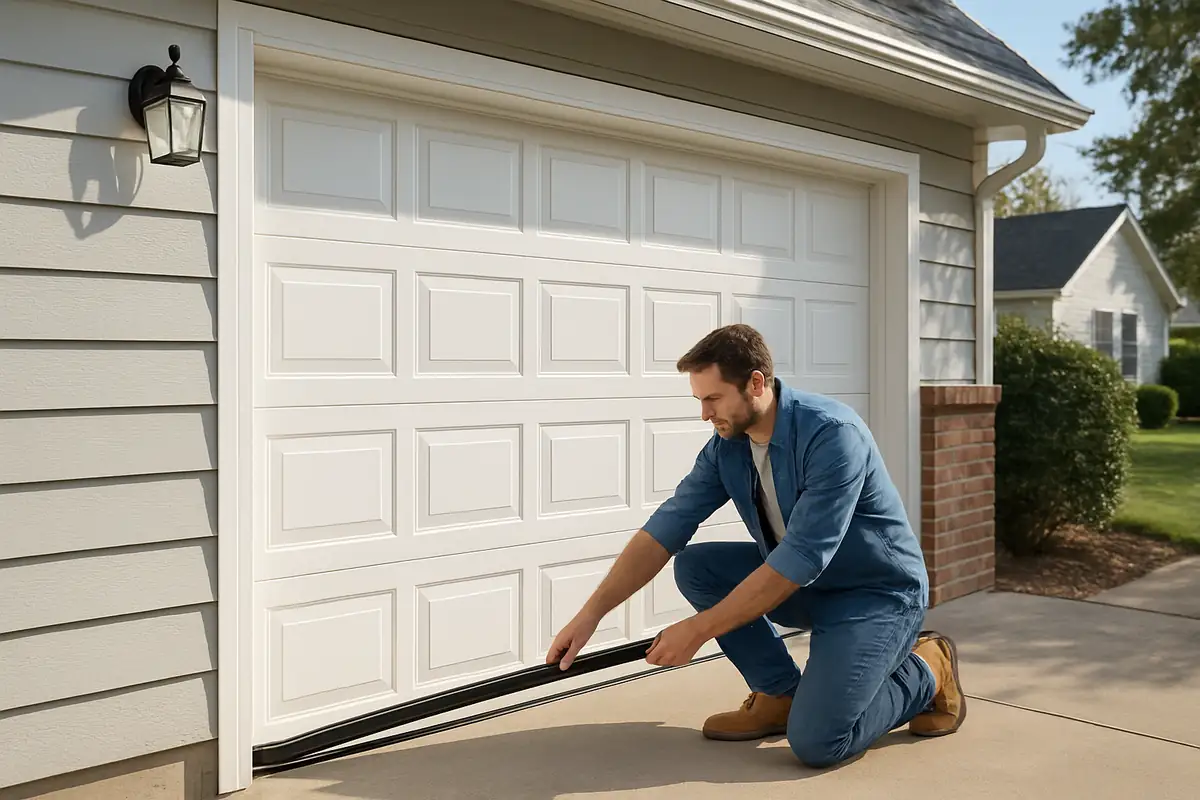
How to Program Your Garage Door Remote: A Comprehensive Guide by A Class Garage Door Repair
Introduction
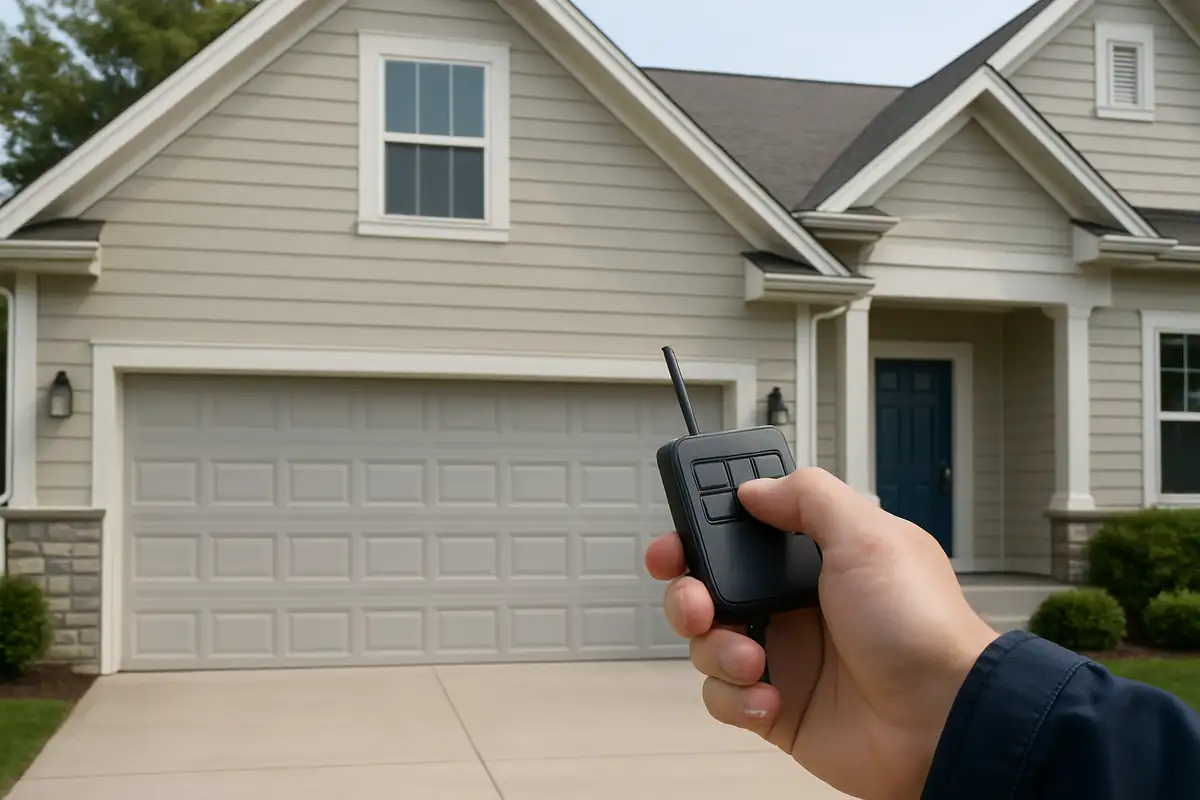
Garage doors are an essential part of any home, providing not only security but also convenience. If you own a home in Huntington Beach, CA, you likely rely on your garage door remote for easy access. However, programming your garage door remote can sometimes feel like a daunting task. At A Class Garage Door Repair, we want to simplify that process for you. In this comprehensive guide, we'll walk you through how to program your garage door remote with ease.
Understanding Your Garage Door Remote
Before diving into the programming process, it's important to understand the components of your garage door remote. Most garage door remotes operate using one of two types of systems:
- Fixed Code Systems: These systems transmit a specific radio frequency code to the garage door opener.
- Rolling Code Systems: These systems change the access code each time the remote is used, enhancing security.
Knowing which type you have will help in the programming process.
Essential Tools You’ll Need
Programming your garage door remote is a straightforward task if you have the right tools. Here’s what you’ll typically need:
- Your garage door remote control
- The garage door opener (usually mounted in your garage)
- A step ladder (if needed to reach the opener)
- Owner's manual for your specific garage door model
Step-by-Step Guide to Programming Your Garage Door Remote
Below are easy-to-follow steps to program your garage door remote:
Step 1: Locate the Learn Button
First, you need to find the “Learn” or “Program” button on your garage door opener. It is usually located on the back or side of the unit and may be covered by a small plastic cover.
Step 2: Prepare the Remote
Have your remote control ready. Make sure it has fresh batteries to ensure a smooth programming process.
Step 3: Press the Learn Button
Press and release the “Learn” button. You should see a light on the opener flash or stay lit, indicating it's ready to accept a new code.
Step 4: Program the Remote
Within 30 seconds of pressing the “Learn” button, press and hold the button on your remote that you want to program. Hold it until you see the light on the opener blink or hear a clicking sound.
Step 5: Test the Remote
After programming, test the remote by pressing the button you programmed. Your garage door should respond accordingly. If it doesn’t, repeat the steps.
Troubleshooting Common Issues
If you encounter issues while programming, consider the following troubleshooting tips:
- Ensure the remote has fresh batteries.
- Double-check that you are pressing the correct buttons.
- Make sure you are within range of the garage door opener.
- Consult the owner’s manual for specific instructions or error codes.
Why Regular Maintenance Matters
Programming your remote may solve immediate issues, but regular maintenance of your garage door system is crucial for long-term functionality. Did you know that:
- According to the International Door Association, regular maintenance can extend the lifespan of your garage door and opener by 30%?
- Failing to maintain your garage door can lead to costly repairs that could have been avoided.
At A Class Garage Door Repair, we offer comprehensive maintenance services to ensure your garage door operates smoothly year-round.
Conclusion: Get Help from the Experts
Programming your garage door remote doesn’t have to be a hassle. With the steps outlined in this guide, you can confidently sync your remote to your garage door opener. However, if you continue to face challenges or need assistance with maintenance and repairs, don’t hesitate to reach out to the experts at A Class Garage Door Repair. Serving Huntington Beach, CA, we are committed to keeping your garage door in prime condition. Contact us today!
Explore More Resources
Related Articles
Service Areas
We proudly serve Huntington Beach, Fountain Valley, Westminster, Costa Mesa, Newport Beach and more areas.
Our Services
Professional garage door repair, spring repair, opener installation and more. View all services →

Chris T.
View full profile
Seasonal Garage Door Maintenance Checklist for Huntington Beach Homes
Weather-Proofing Your Garage Door: Essential Tips from A Class Garage Door Repair