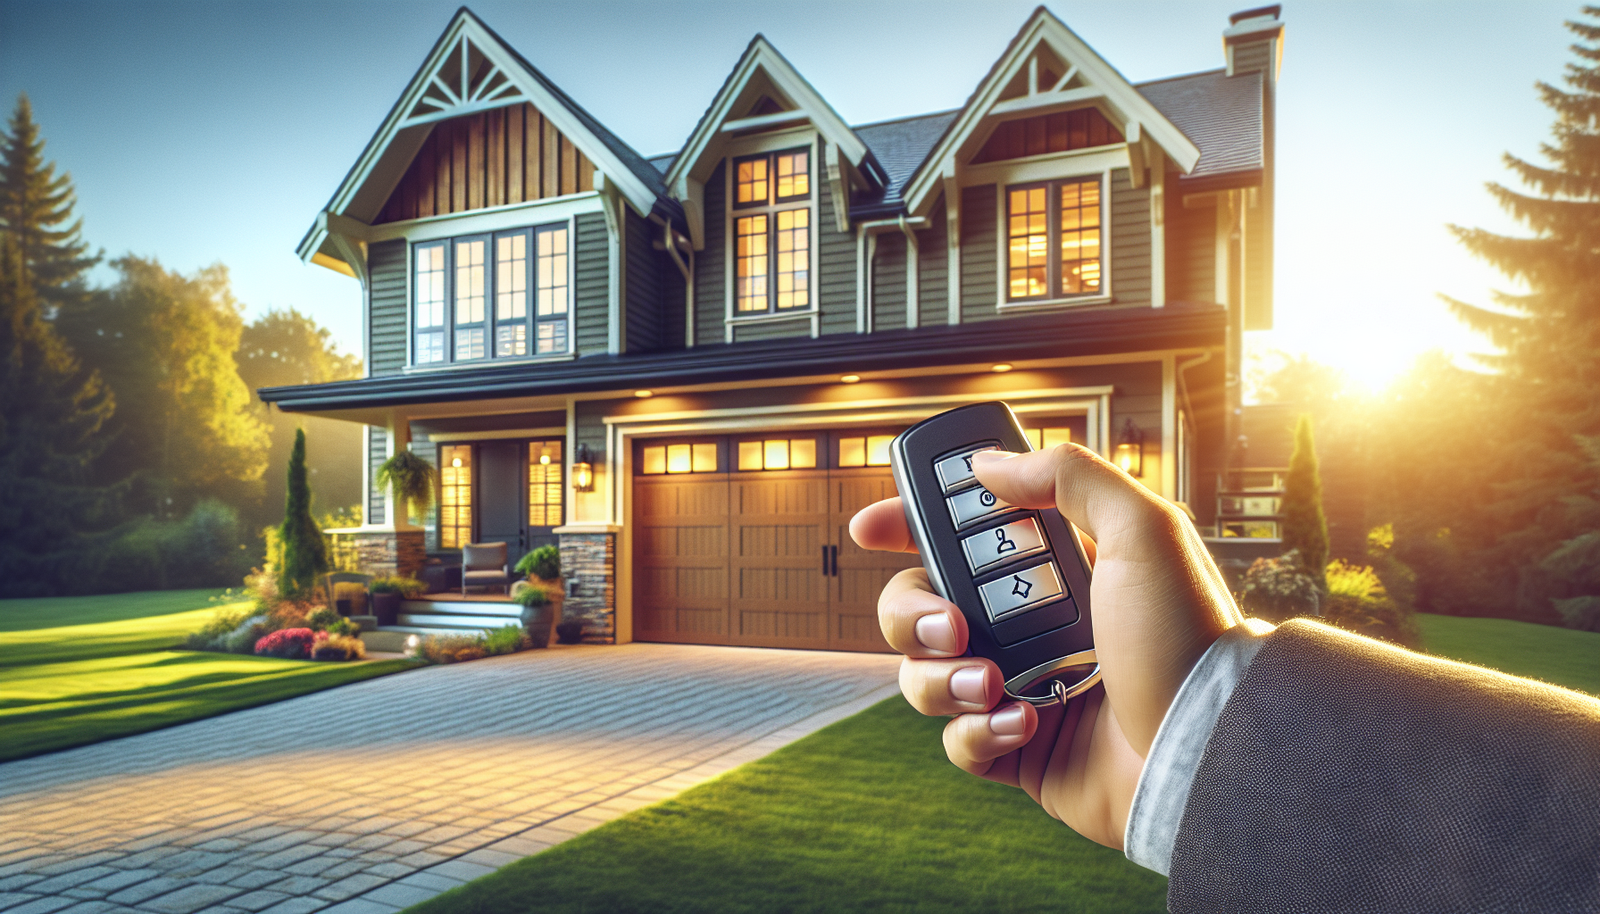
Programming your garage door remote doesn't have to be complicated. Follow this comprehensive guide from A Class Garage Door Repair to make your garage access smoother.
Understanding How to Program Your Garage Door Remote: A Complete Guide by A Class Garage Door Repair
When it comes to maintaining your home, few things are as important as ensuring your garage door operates safely and efficiently. In this comprehensive guide, we'll explore everything you need to know about this topic and how it affects homeowners in Huntington Beach, CA.
Why This Matters for Homeowners
Your garage door is likely the largest moving part of your home and one of the most frequently used entry points. Understanding how to properly care for and maintain your garage door system can save you money, improve your home's security, and prevent inconvenient breakdowns.
Many homeowners don't give much thought to their garage door until something goes wrong. By then, a minor issue that could have been fixed with a simple adjustment or inexpensive part has often developed into a major repair. That's why education and preventive maintenance are so important.
Key Points to Consider
There are several important factors that every homeowner should understand:
Regular Maintenance is Essential
Just like your car, your garage door system requires regular maintenance to operate safely and efficiently. This includes visual inspections, lubrication of moving parts, balance testing, and safety feature verification. Most maintenance tasks can be performed by homeowners, while others should be left to professionals.
Safety Should Always Come First
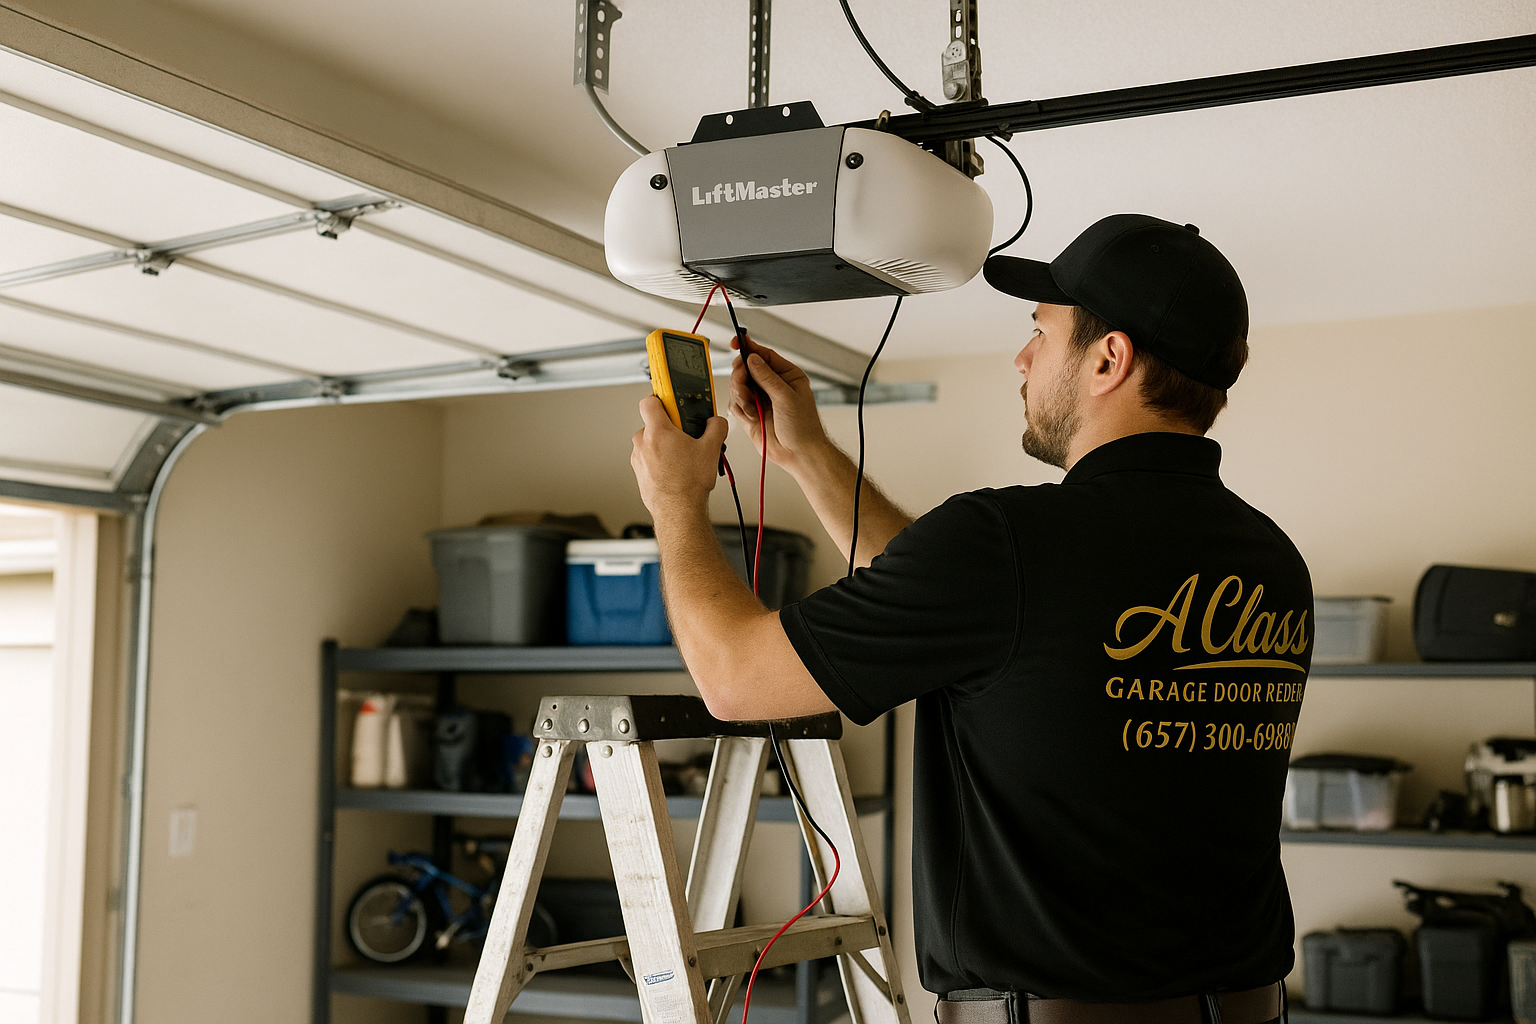
Garage doors and openers include several safety features designed to protect you and your family. These include auto-reverse mechanisms, photo-eye sensors, and manual release systems. Regular testing of these features ensures they'll work when needed.
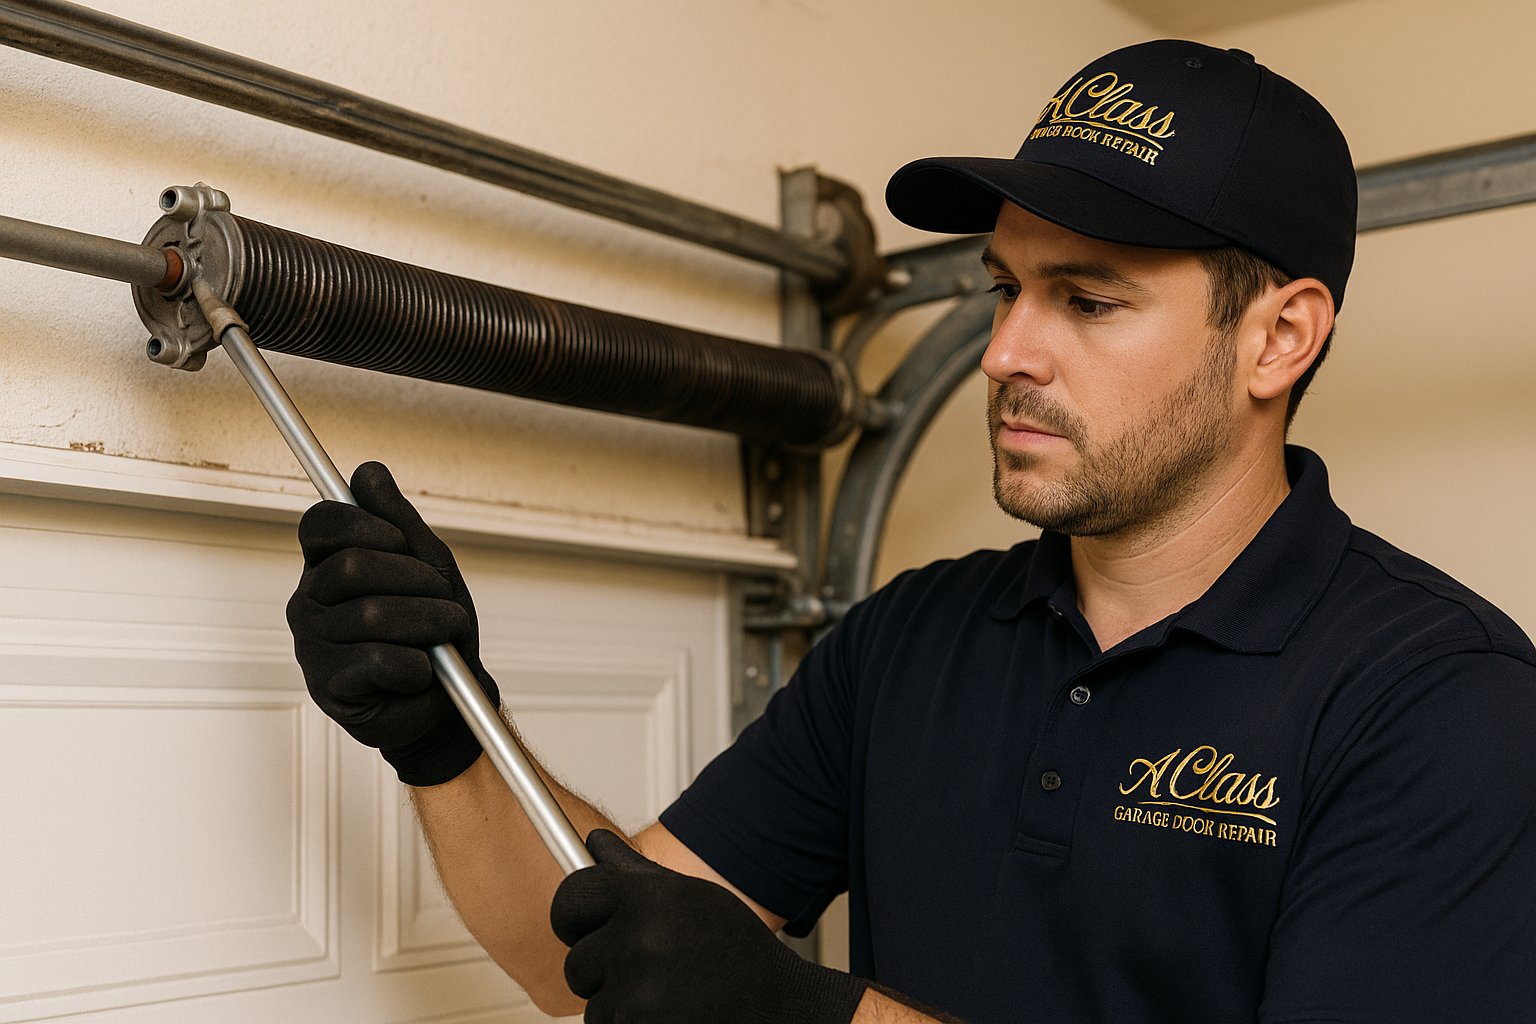
When to Call a Professional
While many maintenance tasks are DIY-friendly, certain repairs should always be performed by trained professionals. This includes anything involving springs (which are under extreme tension), electrical components, and structural repairs. Attempting these repairs yourself can result in serious injury or further damage to your door.
Common Questions and Concerns
Here are some of the most common questions we hear from homeowners:
How often should I have my garage door serviced? We recommend a professional inspection at least once a year, with homeowner maintenance checks performed monthly or quarterly.
What's the lifespan of a typical garage door? With proper maintenance, a quality garage door can last 15-30 years. Springs typically need replacement every 7-10 years, and openers usually last 10-15 years.
How can I reduce garage door noise? Regular lubrication, tightening loose hardware, and replacing worn rollers can significantly reduce noise. Belt-drive openers are also quieter than chain-drive models.
Taking the Next Step
Whether you're dealing with a specific issue or simply want to ensure your garage door system is in top condition, taking proactive steps now can prevent problems down the road. Start with a visual inspection of your door and its components, and don't hesitate to call a professional if you notice anything concerning.
Remember, a well-maintained garage door not only operates more reliably but also enhances your home's curb appeal, improves energy efficiency, and provides better security for your family and belongings.
Explore More Resources
Related Articles
Service Areas
We proudly serve Huntington Beach, Fountain Valley, Westminster, Costa Mesa, Newport Beach and more areas.
Our Services
Professional garage door repair, spring repair, opener installation and more. View all services →
Need Professional Help?
If you're experiencing any garage door issues or have questions about maintenance and repairs, A Class Garage Door Repair is here to help. Our certified technicians serve Huntington Beach, CA and surrounding areas with same-day service available.